Setting up an automated campaign is very easy in Movio Cinema. Here’s how to get started:
- Hover over ‘Engage’ and click on ‘Automated Campaigns’.
- Click on the ‘Create’ button in the top right.
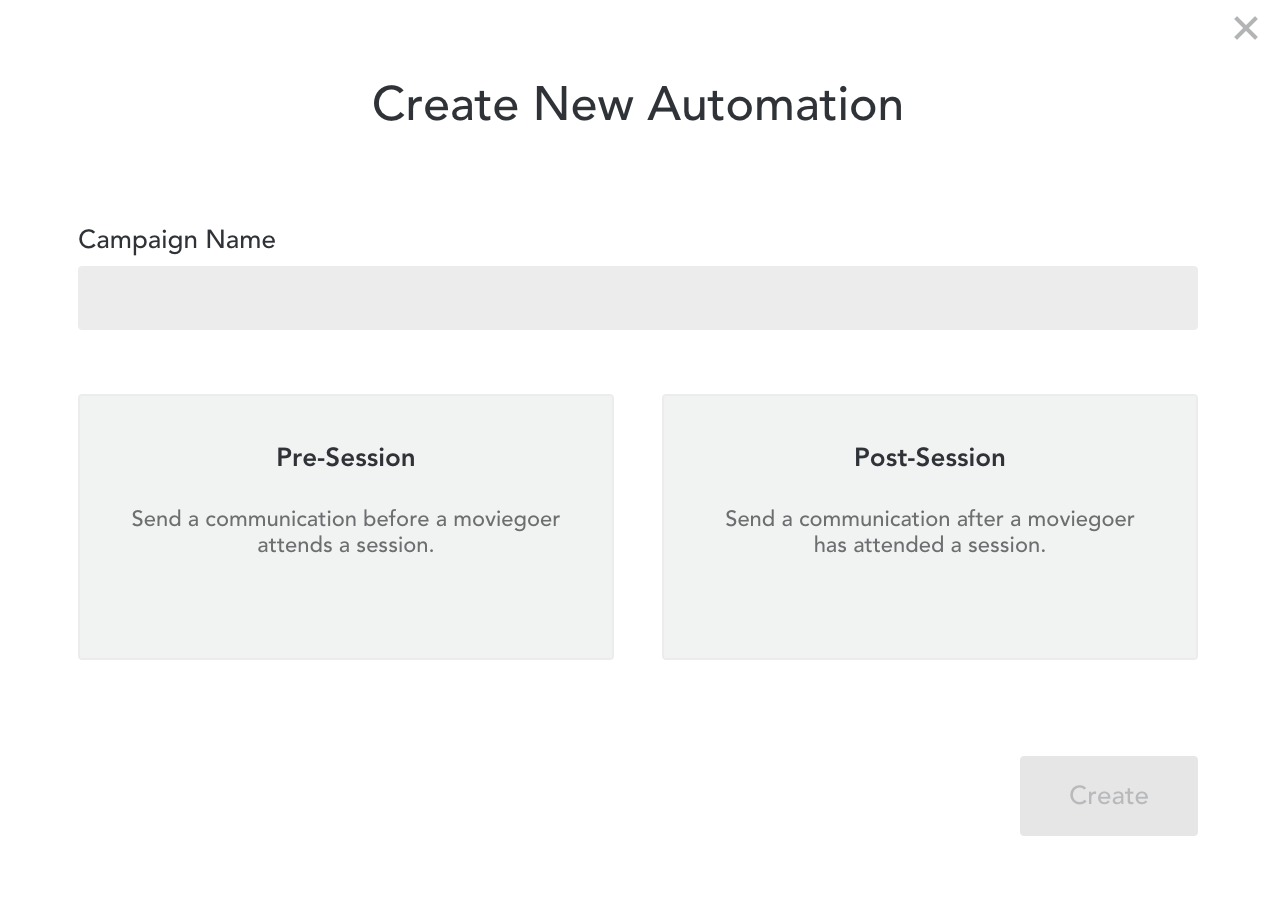
- Enter a name for your campaign and select a campaign type that you want to run – pre-session or post-session – and click on ‘Create’ to confirm. Your new campaign will now appear in the list.
- Pre-session – send a communication before a moviegoer attends a session.
- Post-session – send a communication after a moviegoer has attended a session.
- Click on the campaign tile to edit it.
- Enter the start and end dates for the campaign.
- Start date – the campaign will only activate on this start date:
Any sessions that run before this start date will be ignored.
Ticket sales from up to 30 days prior to the selected ‘Start Date’ will be included in the campaign.
For example, if you set up an automated pre-session campaign to tell Star Wars moviegoers about a collectible popcorn tin, your campaign will include all moviegoers who purchased tickets for Star Wars, even if they purchased 30 days prior to the campaign start date.
- End date:
If an ‘End Date’ has been selected, your campaign will deactivate automatically at the end of the selected date.
If the ‘End Date’ is set to ‘never’, your campaign stays active but communications will automatically stop after the last related session.
- Click on the campaign tile again to edit your campaign details
- Edit the settings
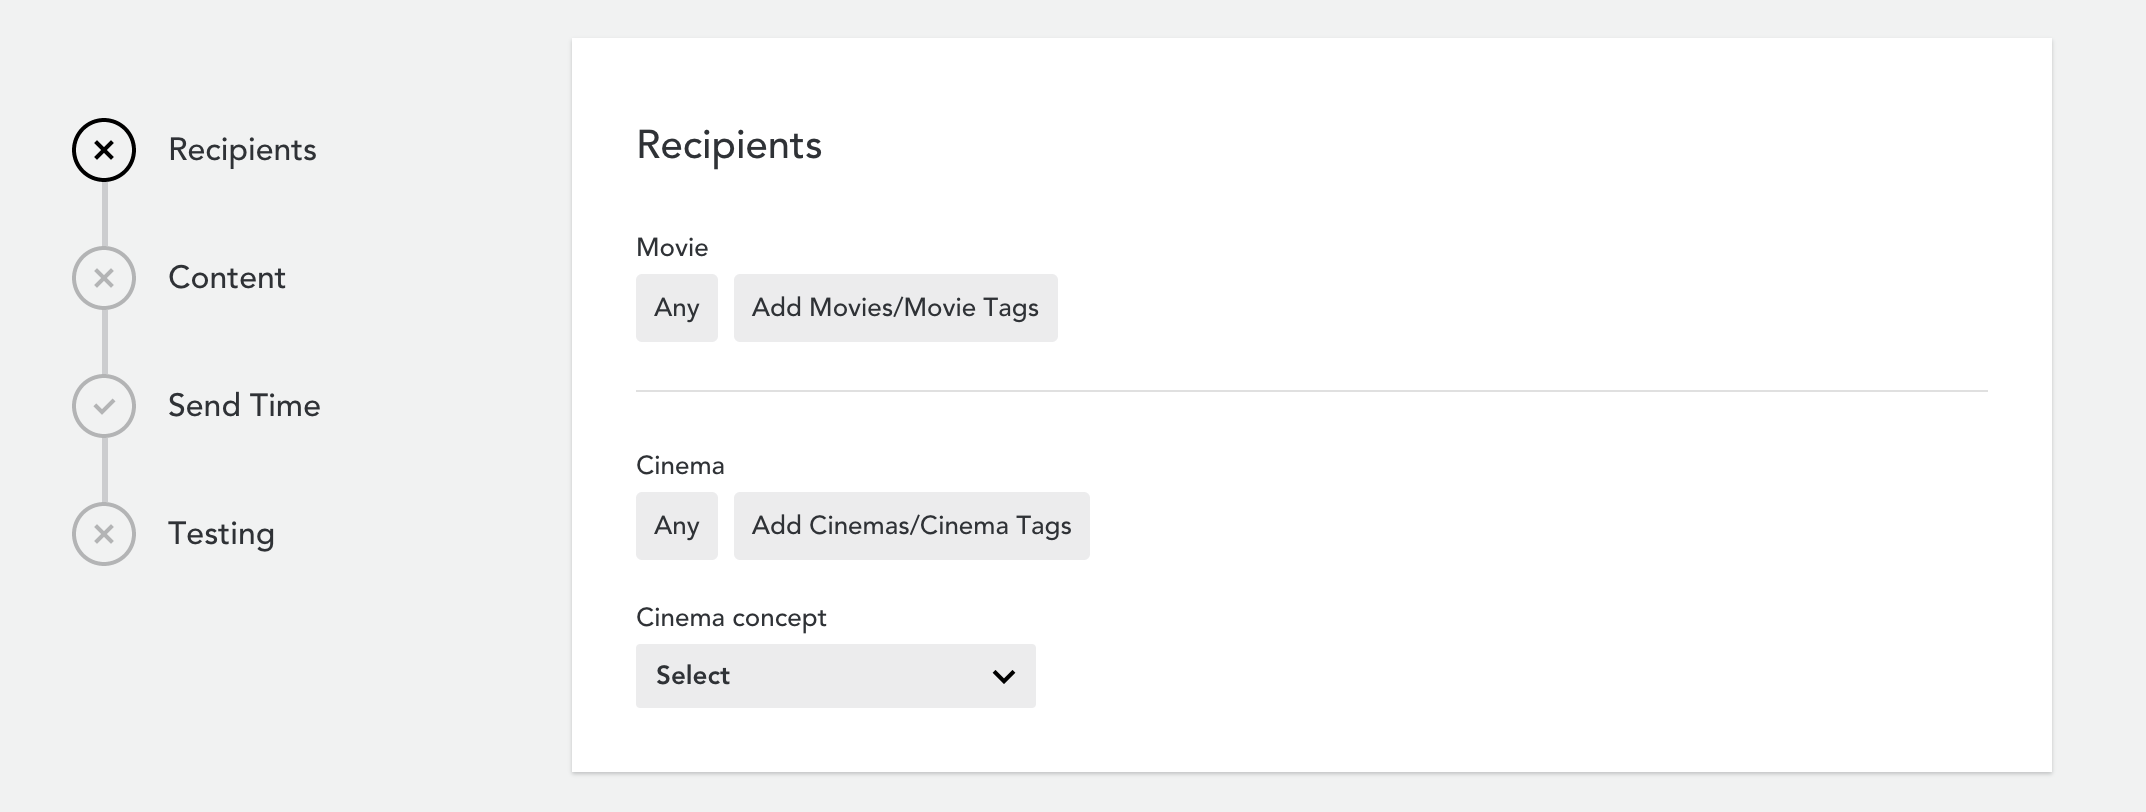
Recipients
- Select which movie or movie tags this campaign should be associated to
- Select which cinema or cinema tags this campaign should be associated to
- Select which cinema concept this campaign should be associated to
Content
- Choose whether you’d like to send an Email or SMS campaign
- Select which ‘Subscription category’ this campaign should be associated to
- Click on ‘Open Editor’ to edit your email header and body of the campaign

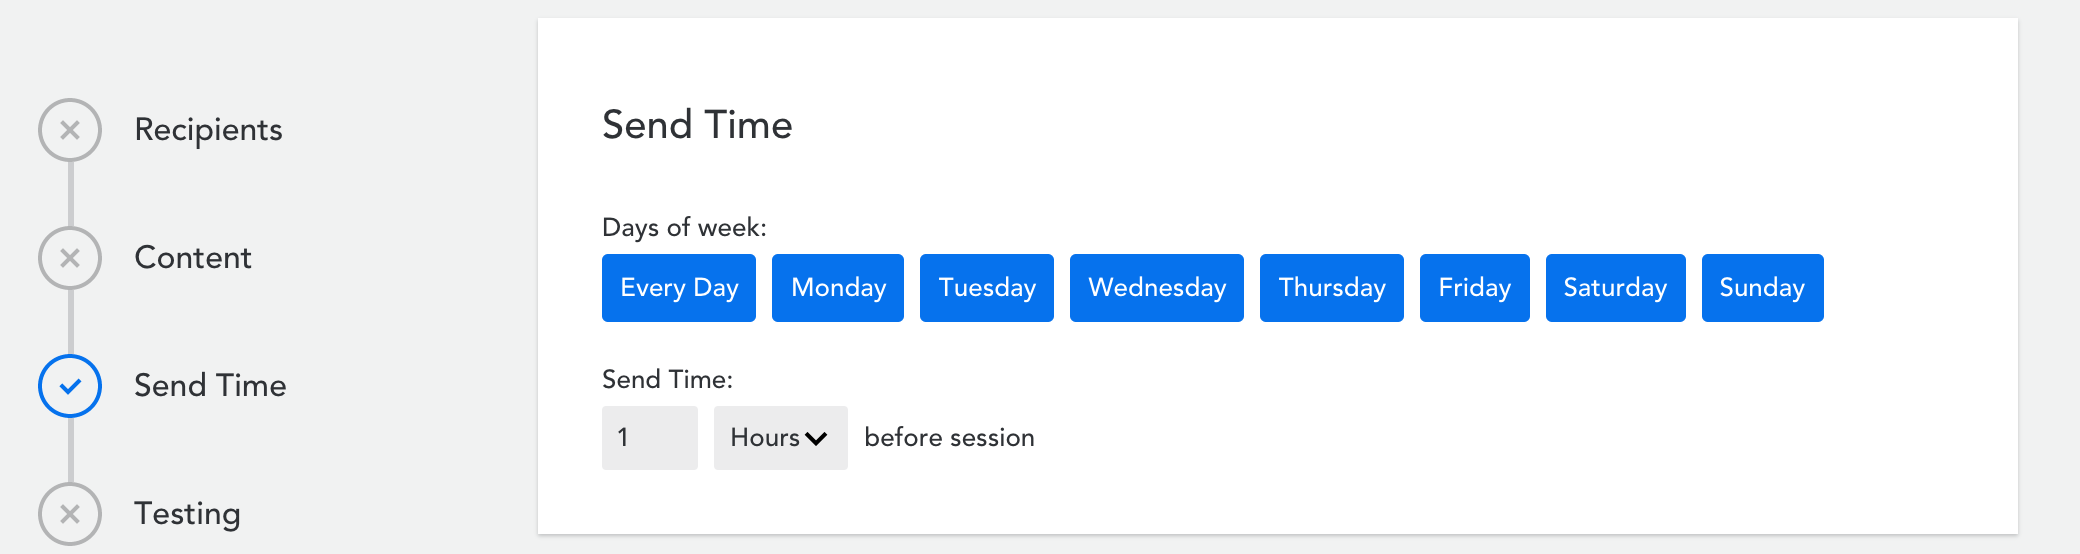
Send Time
- Choose which days of the week this campaign can be triggered on
- Enter the number of hours/minutes/days before the session that this campaign should get sent
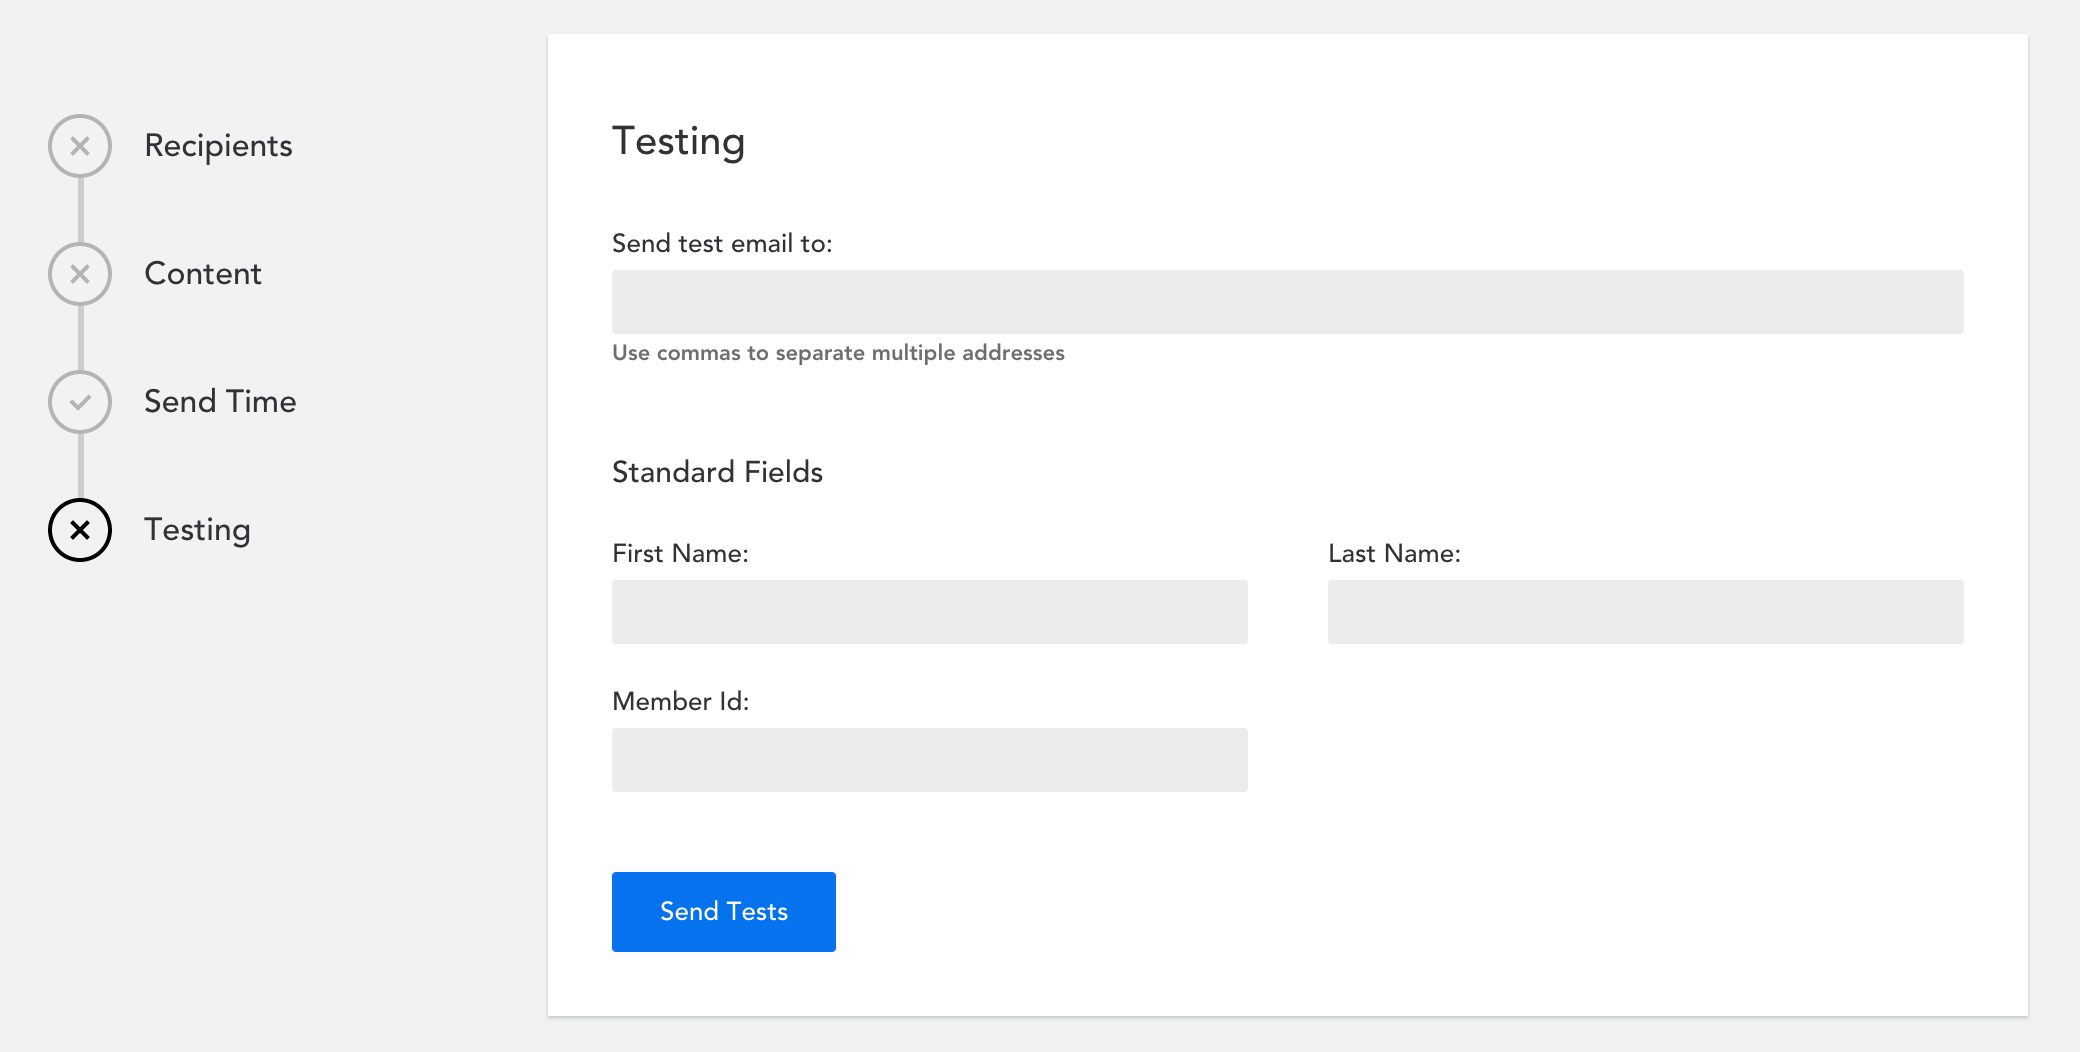
Testing
- Enter the email addresses you wish to send a test campaign to
- Enter ‘test member’ information under ‘Standard Fields’
- Click ‘Send Tests’
Activating automated campaigns
- Click on the ‘Activate Campaign’ button when you’re ready to activate it.
More details in our Campaign Automation FAQ
Comments
0 comments
Article is closed for comments.