Add Filters
Once inside your group:
- Click ‘Add Filters’ from the menu bar and you will now see over 15 categories of filters that can be used to segment your loyalty members
Please note – each group you create will have a slightly different target and you will need to mix and match a combination of filters in order to find your target group for your campaign. For this example, we will add filters to find the target audience for ‘High Spend, Low Frequency.’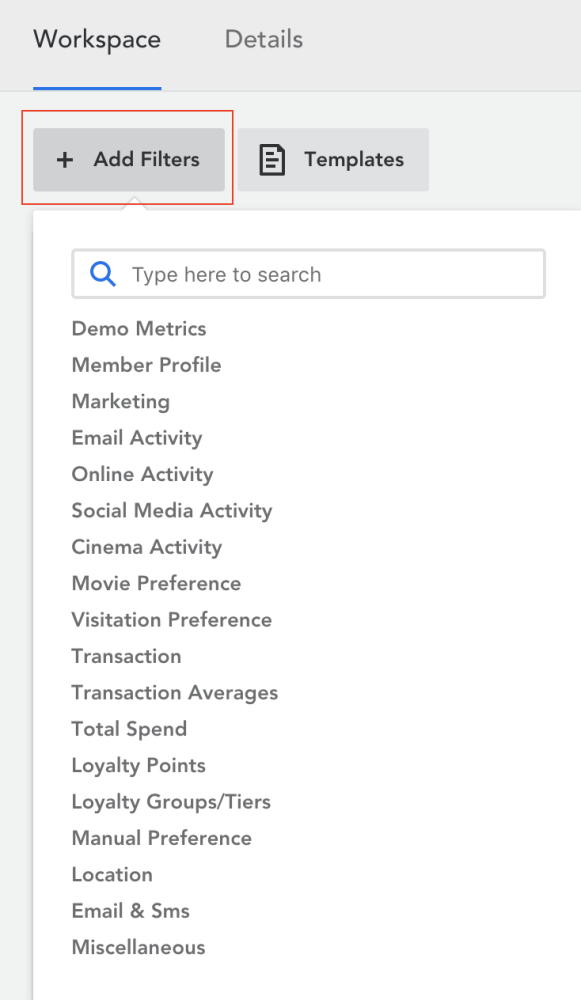
- Begin adding filters to define your target group:
- Click on a header to view the filters within the category
- Click on all the filters you would like to use to find your target audience
For this example, we are going to choose ‘Total Spend’ and ‘Monthly visitation Frequency.’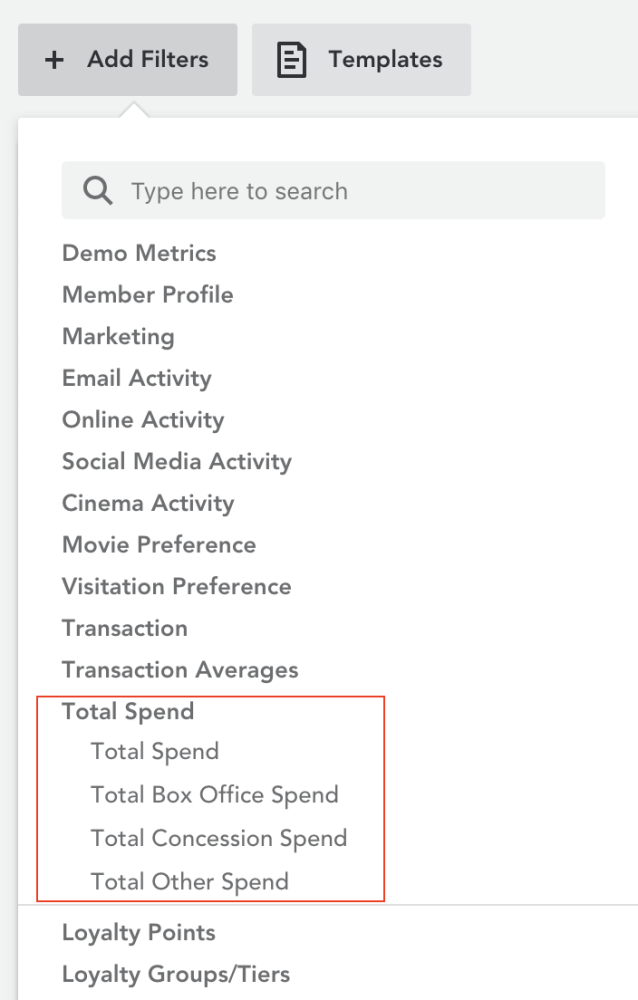
Configure Filters
The filters are now available to configure and activate. It does not matter which order you have selected for your filters.
You can now configure and activate your filters.
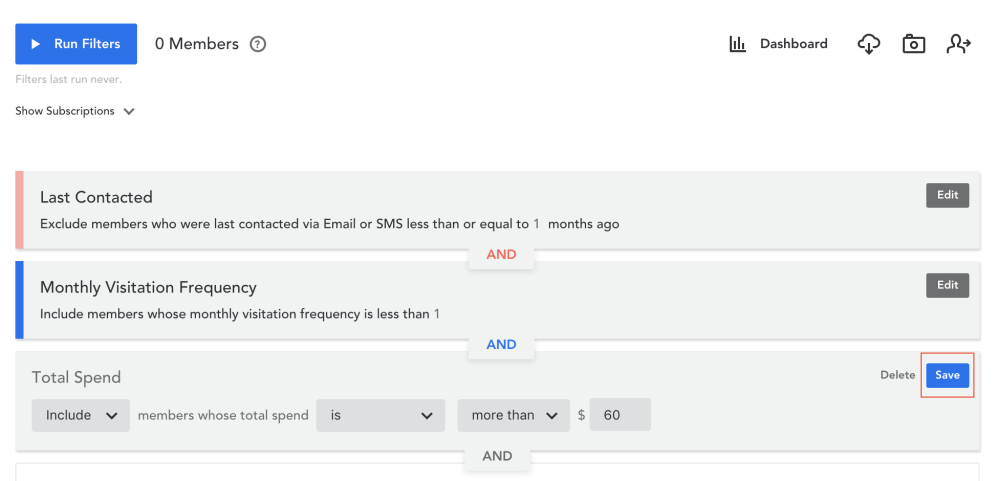
- Use the drop down menus within each filter to configure its settings
- Each filter must be configured and then saved one at a time. To save a filter, simply click on ‘save
Understanding the filter you have selected using an example:
- Last Contacted – This is an exclusion filter. This means, we have chosen to exclude members who were contacted by email or SMS less than 1 month or 1 month ago
- Monthly Visitation Frequency – This is an inclusion filter. This means, we have chosen to include members who visit the cinema less than once in a month
- Total Spend – This is also an inclusion filter. This means, we have chosen to include members whose total spend is more than $60. This filter has not been activated because it has not been saved. Once you save this filter, it will be activated
Comments
0 comments
Article is closed for comments.