From any page in your console:
- Hover over ‘Engage’ in the top menu, and click on ‘Campaigns’
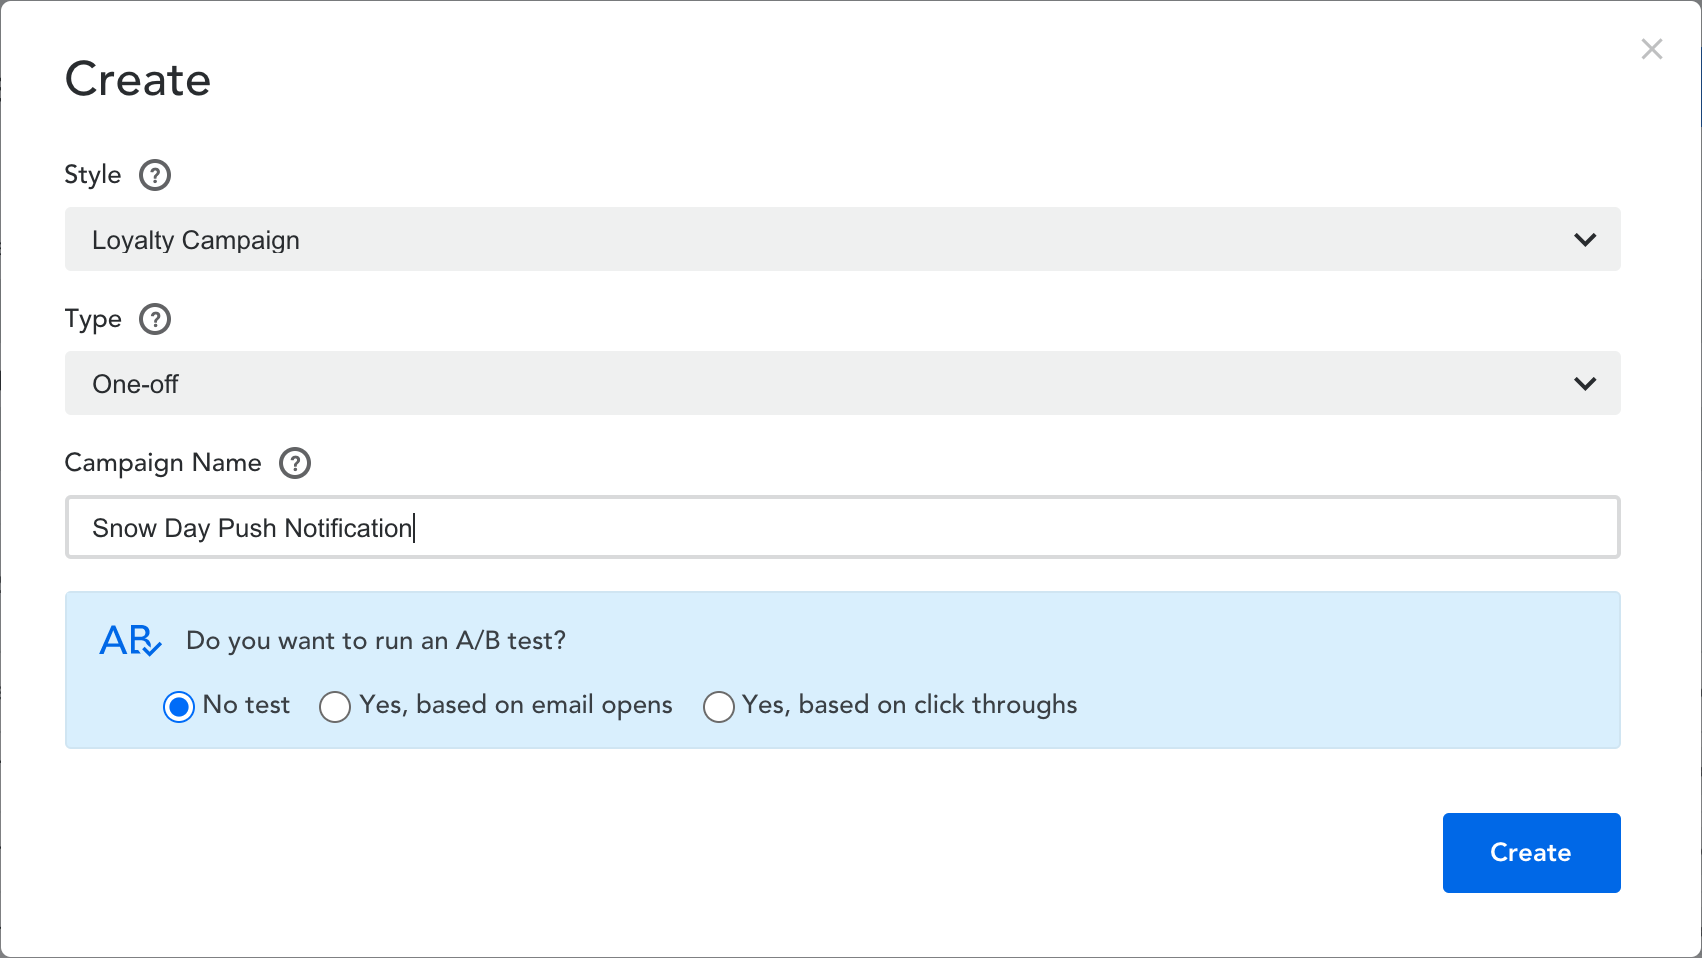
- Select ‘Create’ in the top right corner. Push notifications are available for loyalty campaigns
- Select the ‘Type’ of campaign you would like to send
- One-off – a campaign that will run once on a specific date and time
- Recurring (only for loyalty campaigns) – will run on a predefined frequency basis e.g. every MondayPlease note: for the following campaign example, we will be creating a one-off loyalty campaign
- Give your campaign a name and click on the ‘Create’ button to begin creating your push notification campaign
- Add your tags into the space provided
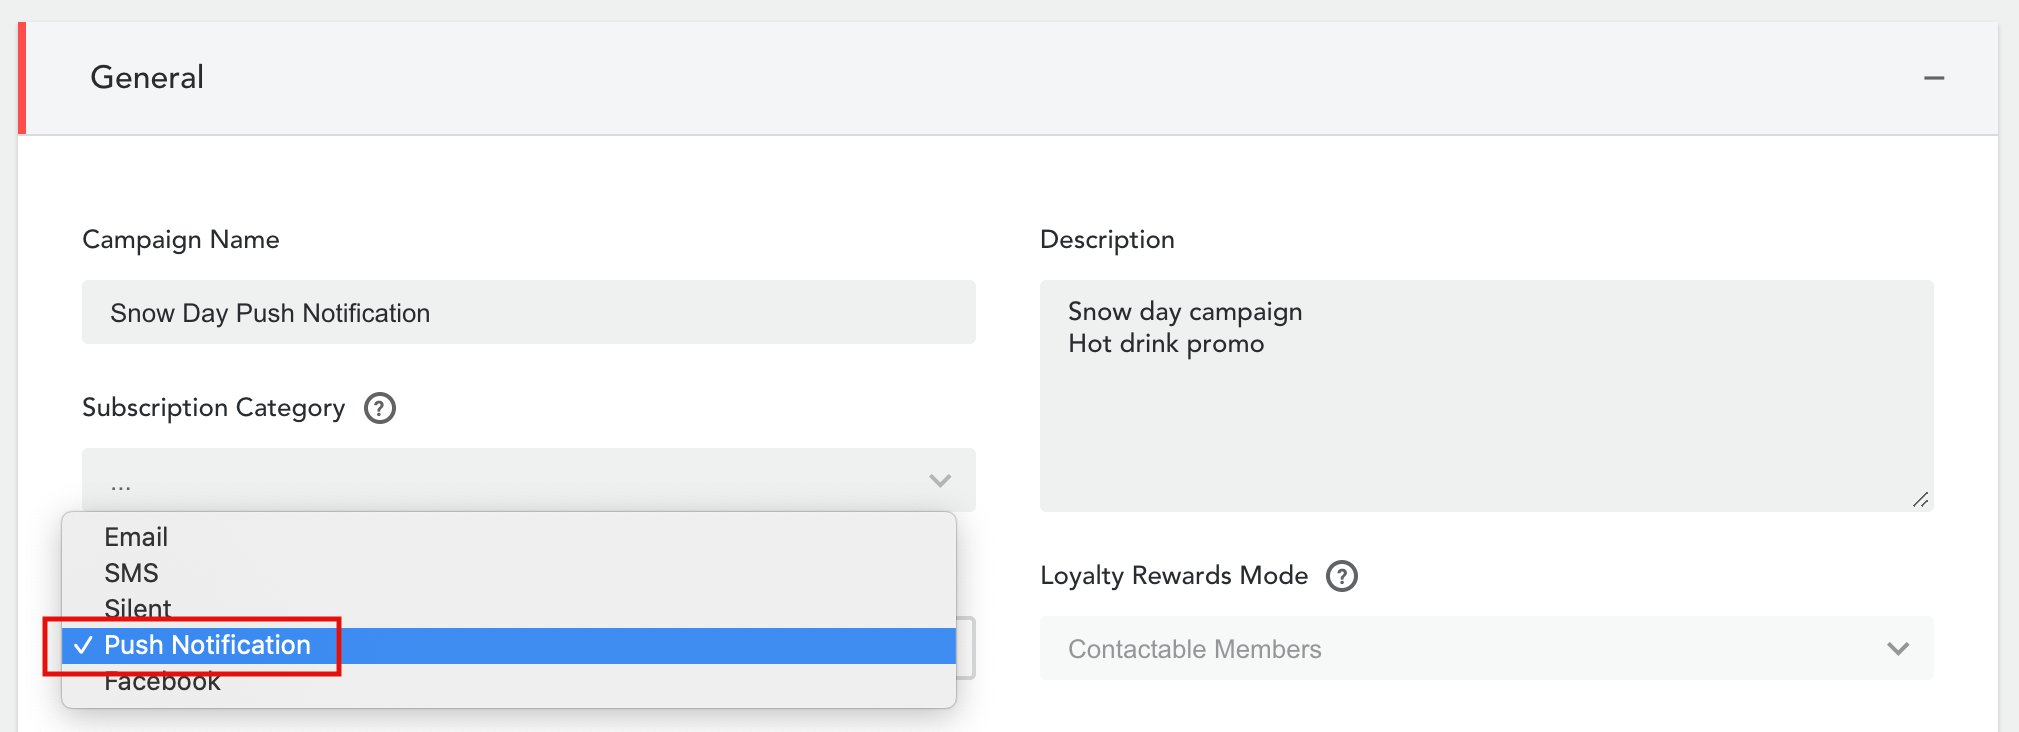
- Continue to the ‘General’ header and select ‘Push Notification’ under the ‘Send Mode’. Complete the ‘General’ header where appropriate
- Add your group builder snapshot under the ‘Recipient’ header
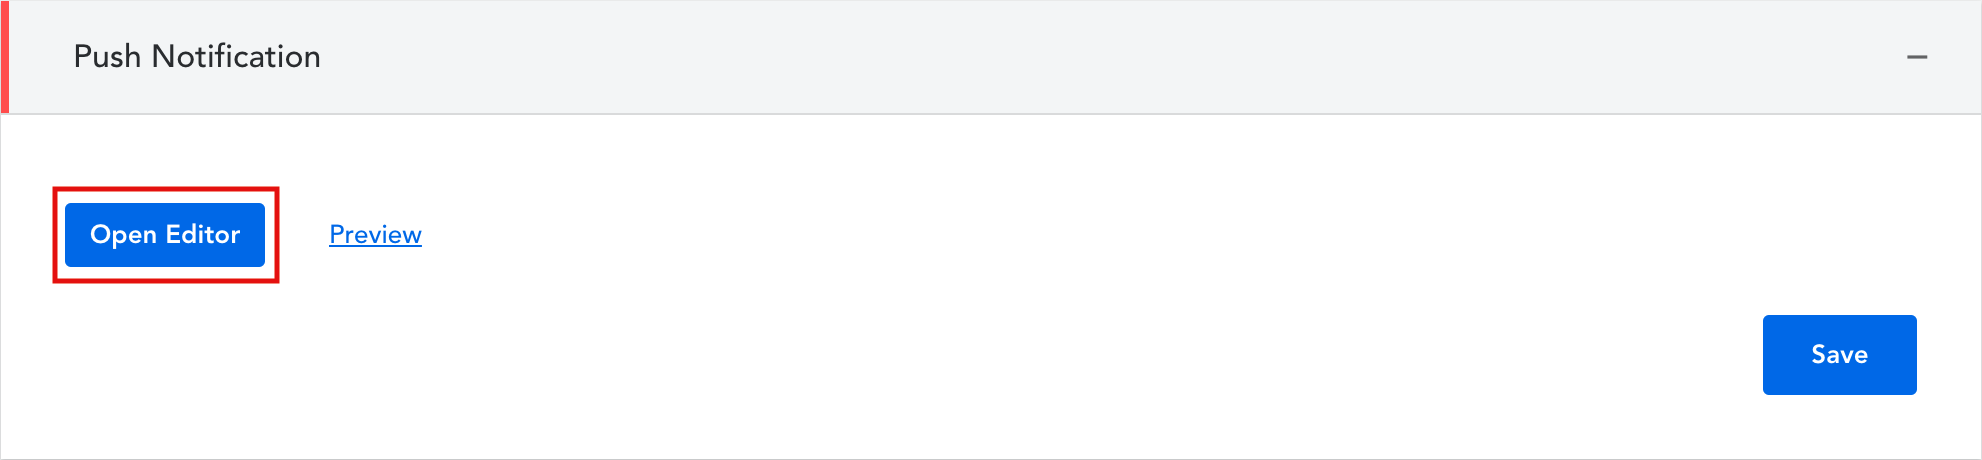
- Click on ‘Open Editor’ under the ‘Push Notification’ header to begin editing your push notification campaign
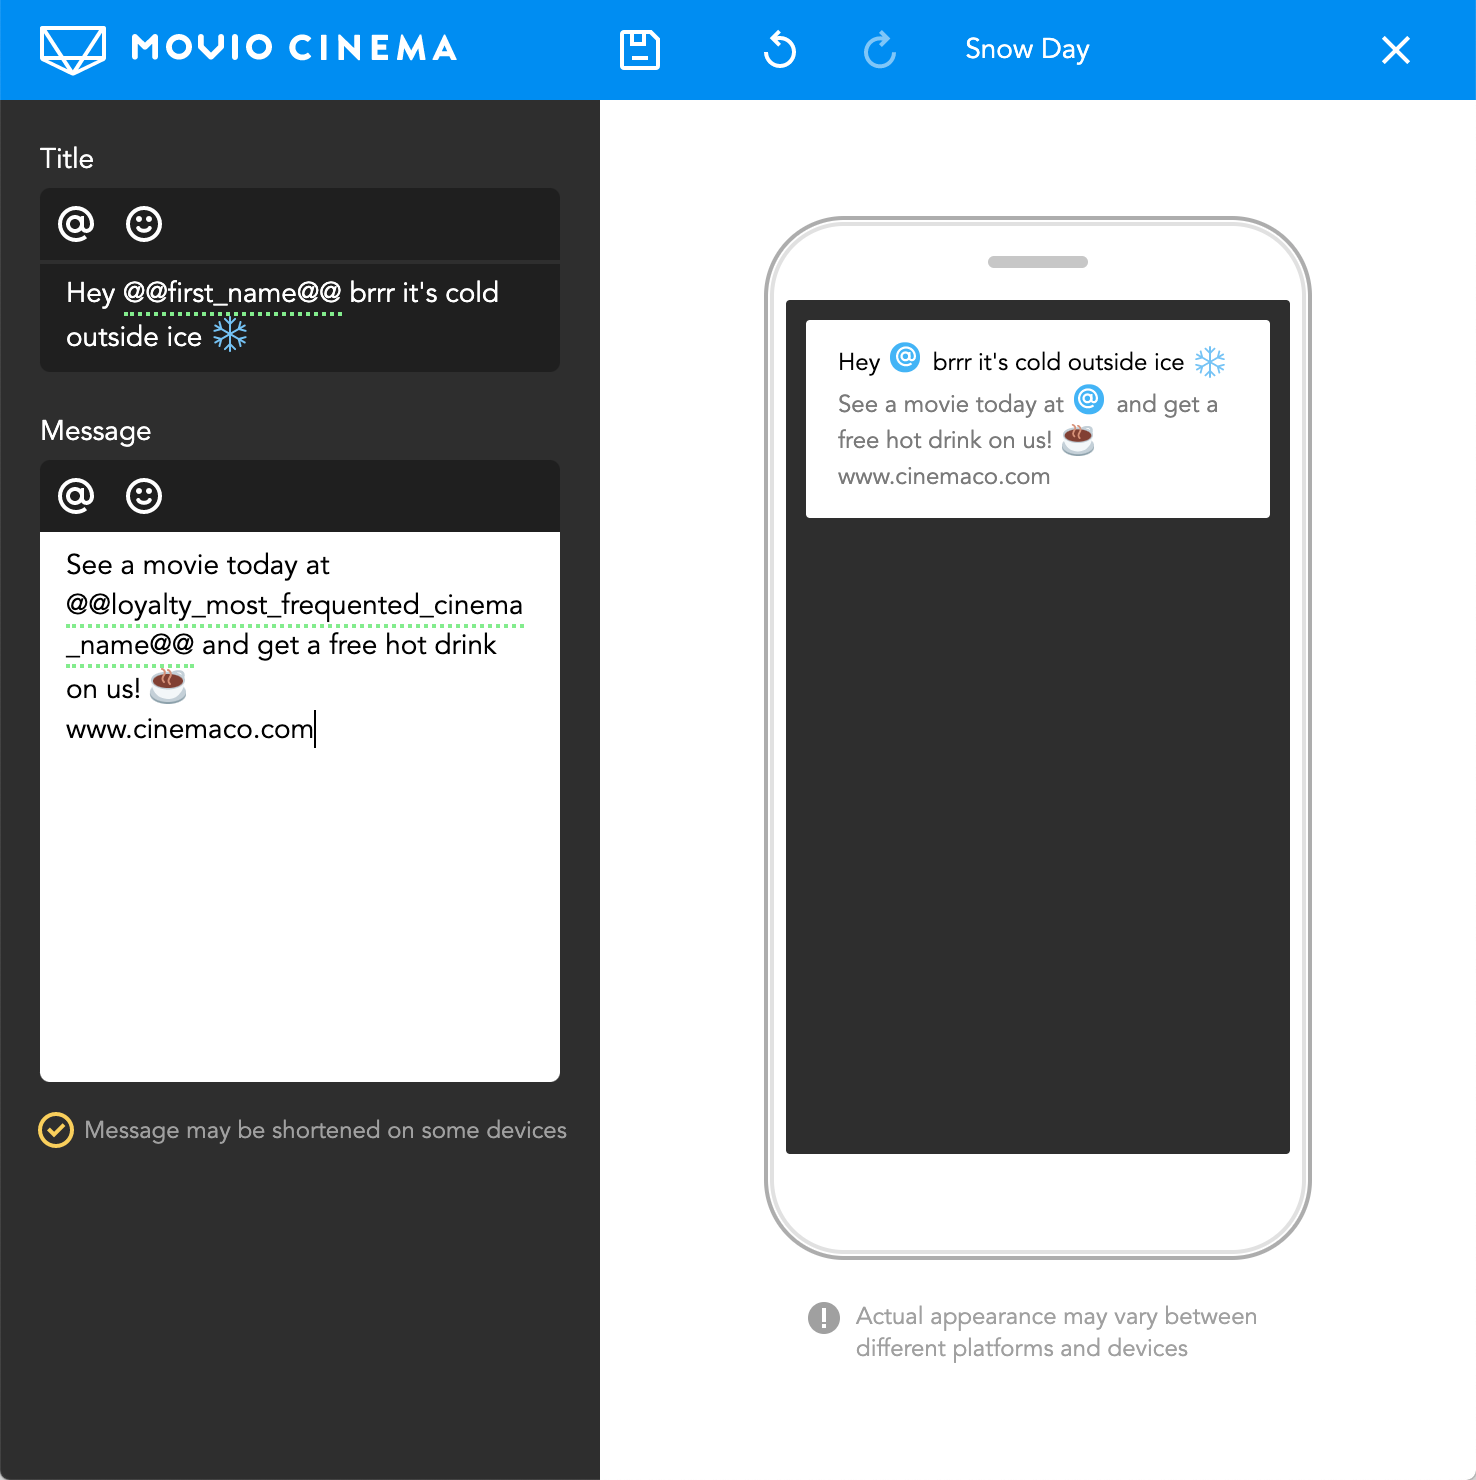
- Enter a title and message into the box on the left. You can use markers by clicking on the ‘at’ symbol or you can enter them manually by typing ‘at’ into the text box. You can also add emoji’s by clicking on the smiley face and selecting from the extensive list of emoji’s or enter this manually. Please note: this is an example phone so messages may appear differently on other devices.
- Click the ‘Save’ icon to save your changes. If you’d like to preview your push notification, you can do so by clicking on ‘Preview'
- You can now proceed to execute your campaign, making sure you have completed the other headers within campaign creation
Comments
0 comments
Article is closed for comments.